
How to make your own DIY ModiBot hero
The fun part about ModiBot is that it can be anything you want it to be. With just a few pieces of colored cloth you can outfit your 'Bot and send him off on any number of adventures.
This kit was designed to enable character creation across a variety of known pop-culture characters, traditional hero archetypes, or to use as a jumping-off point for designing your own hero.
Its quick to make with some materials you might have around the house and really easy to modify to add your own personal touches. It can also be used as a fun design exercise for groups of kids (or kids at heart) for school or birthday parties. We also have premade kits in variety of colors available in our shop.
Let's get started.
Heres a quick list of materials-
- Scissors (or rotary cutter)
- one 9x12 in. sheet of felt
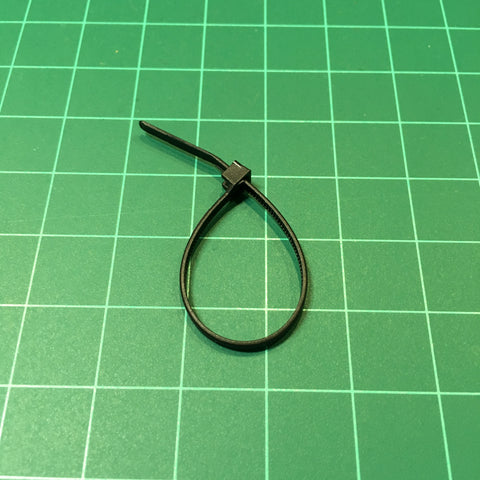
- one 4 in. zip tie
- one paper lollipop stick
Step 1: Ideate and plan your design-
Depending on the color of your bot, you might go in a variety of directions, but, as an example, let's say you have a bright green ModiBot you want to outfit.
There are a lot of known characters that are green and could be easy to design with this kit, like Peter Pan or Robin Hood.
There are also character archetypes that could be fun to build by starting with green, like an elven sorcerer or jungle-camoflaged ninja.
Think for a few seconds and let your mind wander as you think of ideas. You might even do a quick drawing of your design using our downloadable Character Design Template.
Step 2: Cut your felt pieces-
Depending on whether you are going to match the existing pattern or make a design of your own, you can start by creating the strips that will be used for the tunic and sash.
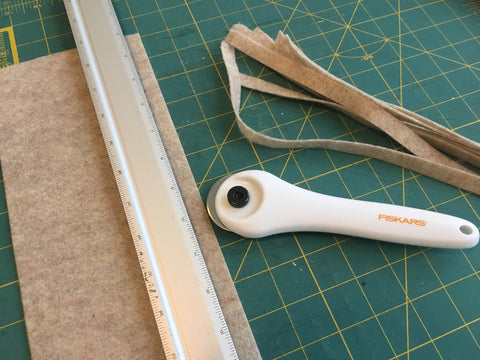
Cut a 1/2 inch strip down the long side of the 9x12 inch felt sheet. This will give you a strip 1/2 inch by 12 inches.
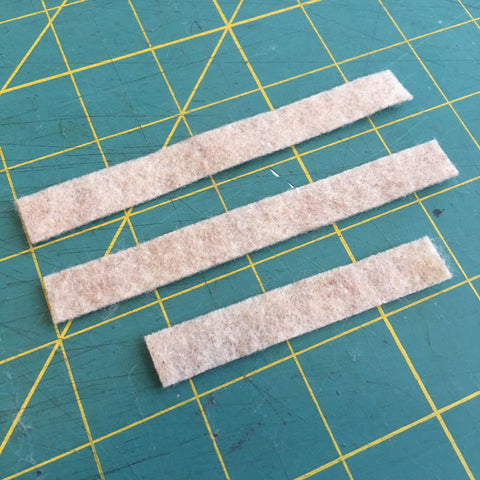
Starting at one end of the strip, measure 4 1/2 inches and cut straight across the strip using the scissors. Now, do the same thing again, measure 4 1/2 inches down the strip and cut.
This should leave you with 2 pieces measuring 4 1/2 inches and a leftover piece measuring 3 inches.
Step 3: Attach your pieces to the figure
This part can be a bit tricky, so it’s best to start by sliding the end of the zip tie into the slot until you hear or feel the first few clicks.
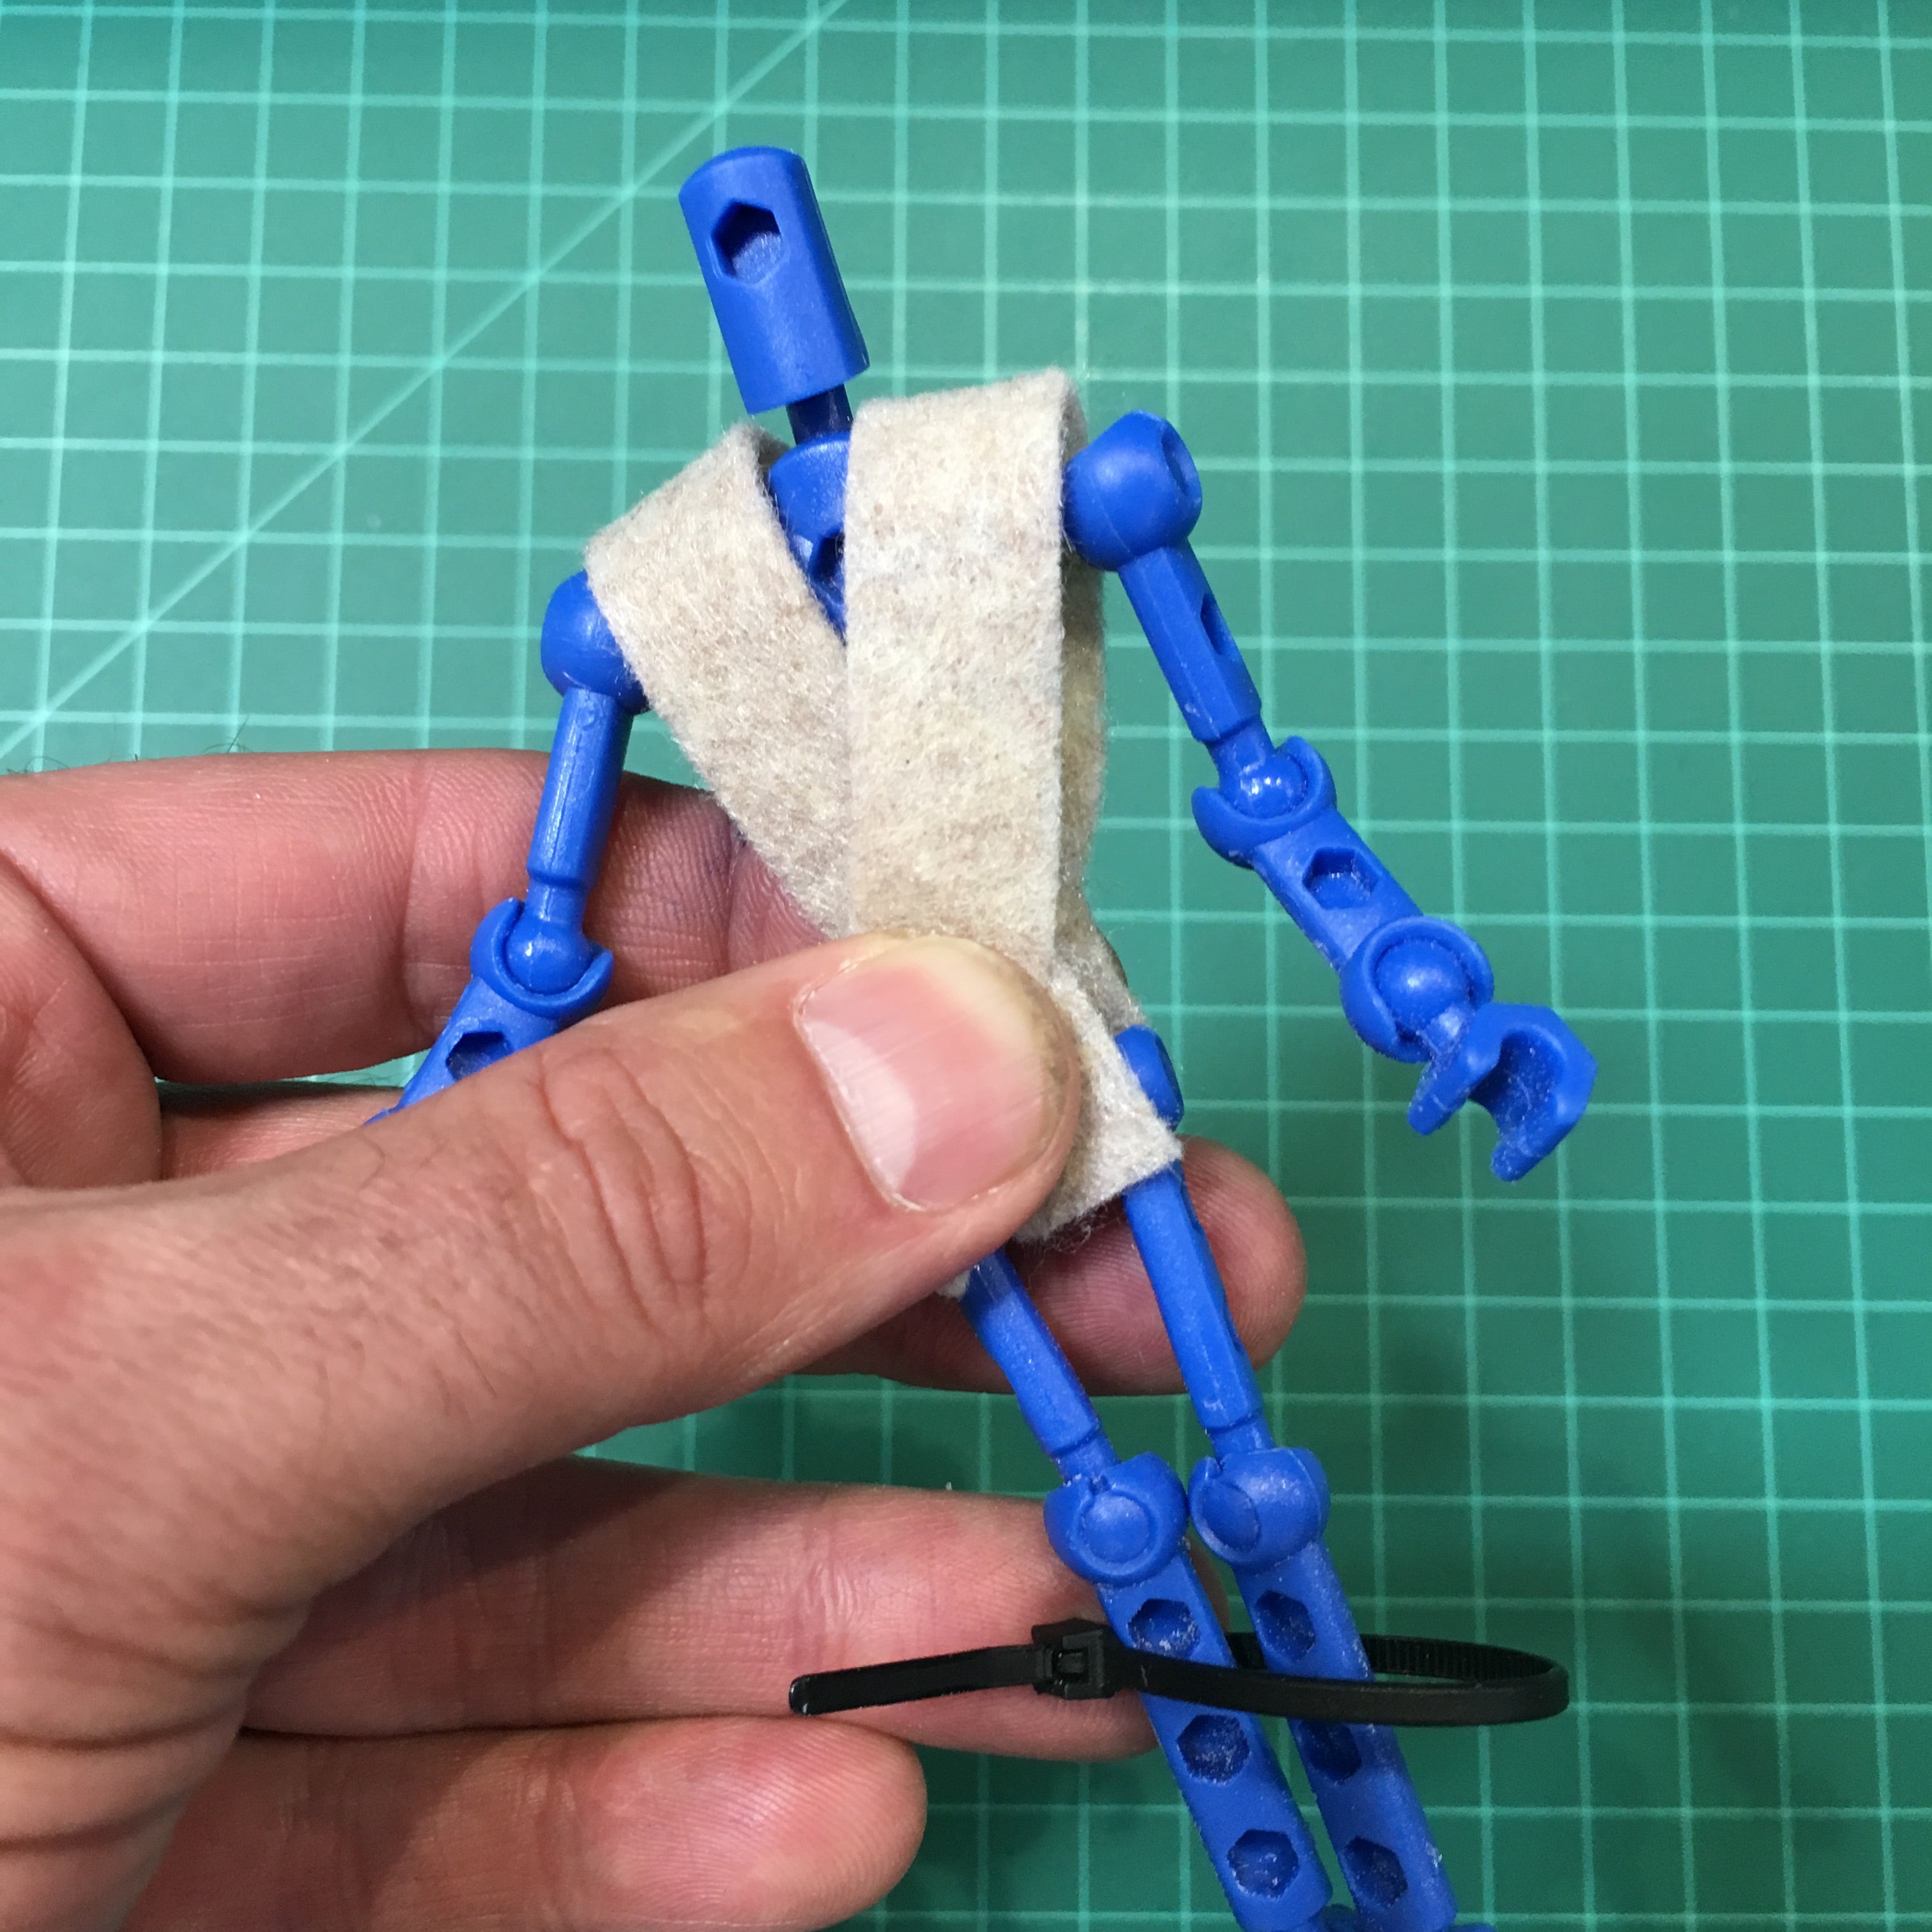
Then take the two longer strips and fold them over the top of the figure’s shoulders and cross-cross them. It’s easy to use your finger and thumb to hold the strips into place.

Now, point your figure’s toes and slide the zip tie up the legs to the waist.
Now, you can slip the smaller strip underneath the zip tie belt and wrap it around the figure’s waist.
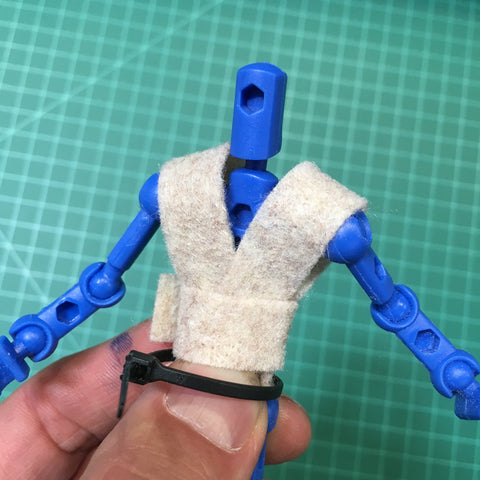
Next, slowly tighten the zip tie while holding every thing in place. It’s best to leave some slack in the belt to allow you move things around to get them just right before tightening completely.
Lastly, trim off the extra bit of the zip tie.
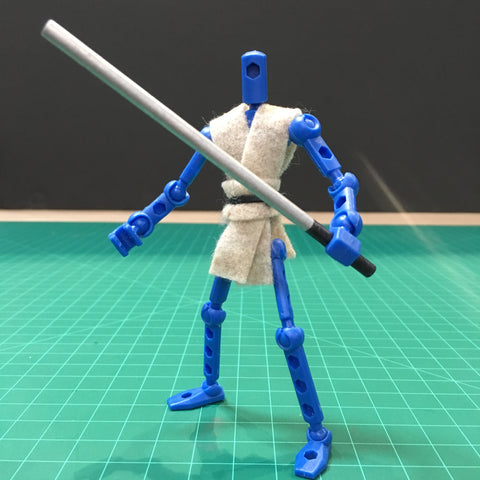
Step 4: Decorate your stick
I chose here to make mine into a sword with a metal blade and black handle, but you are free to make the stick into anything you want.
Step 5: Complete the design and start posing!
Leave a comment: